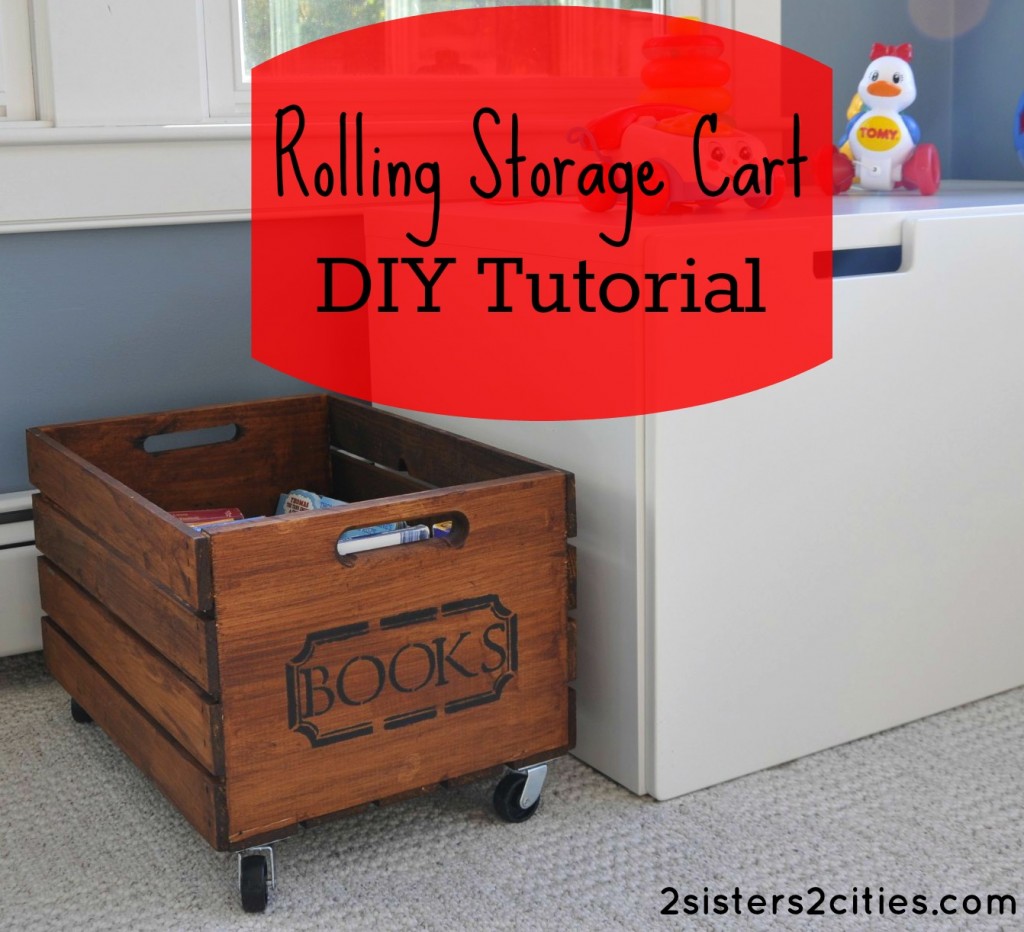
One of my favorite retailers, Serena & Lily, is selling these adorable vintage-looking rolling storage crates in their baby section. I fell in love with the little carts. I realized I already had unfinished crates very similar to the ones featured in the S&L catalog, as well as some ball bearing casters leftover from a previous project. I decided to turn this into a little DIY project and made one for less than $15 since I had some of the materials on hand. If you have none of the materials, it will cost you about $30 to make a rolling storage crate.
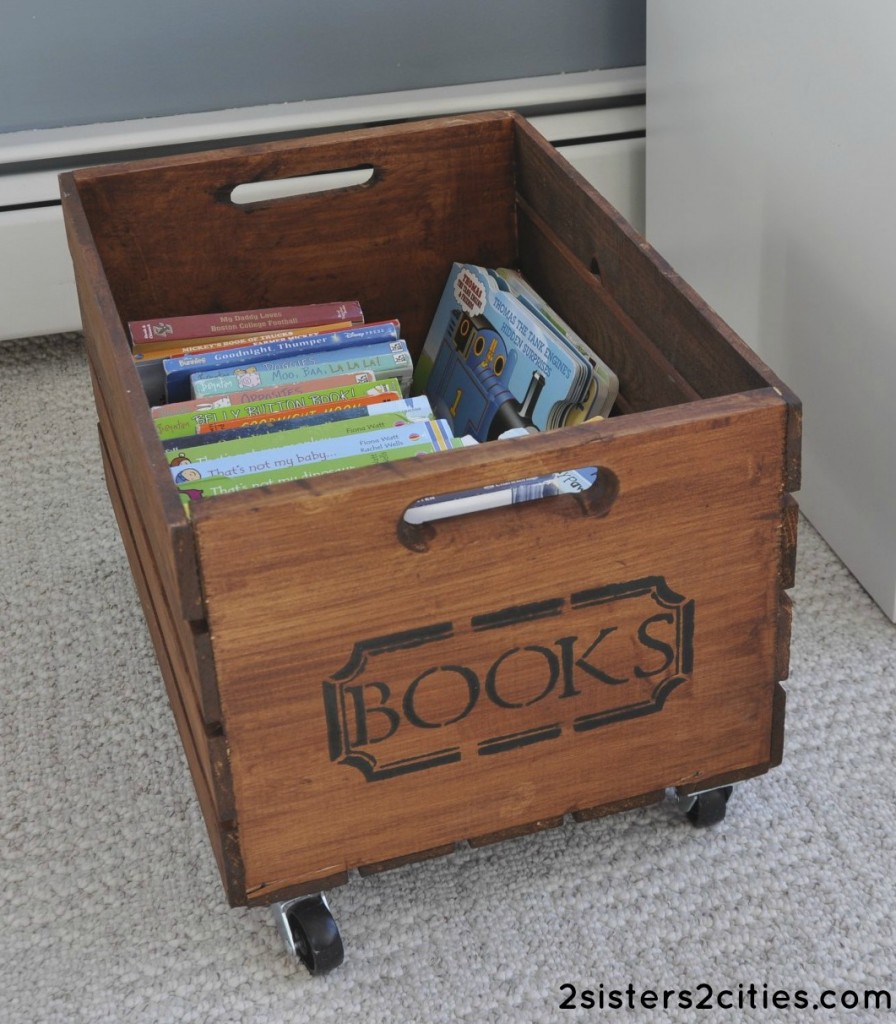
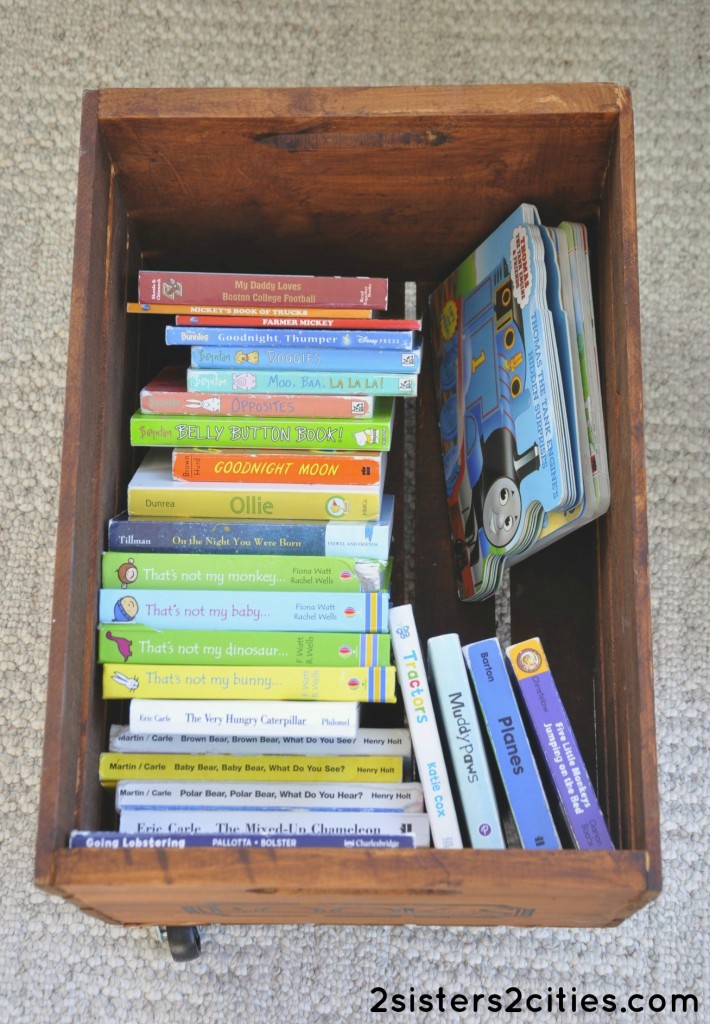
The rolling storage crate is perfect for storing the many books we have in our household. My son loves pushing it from room to room.
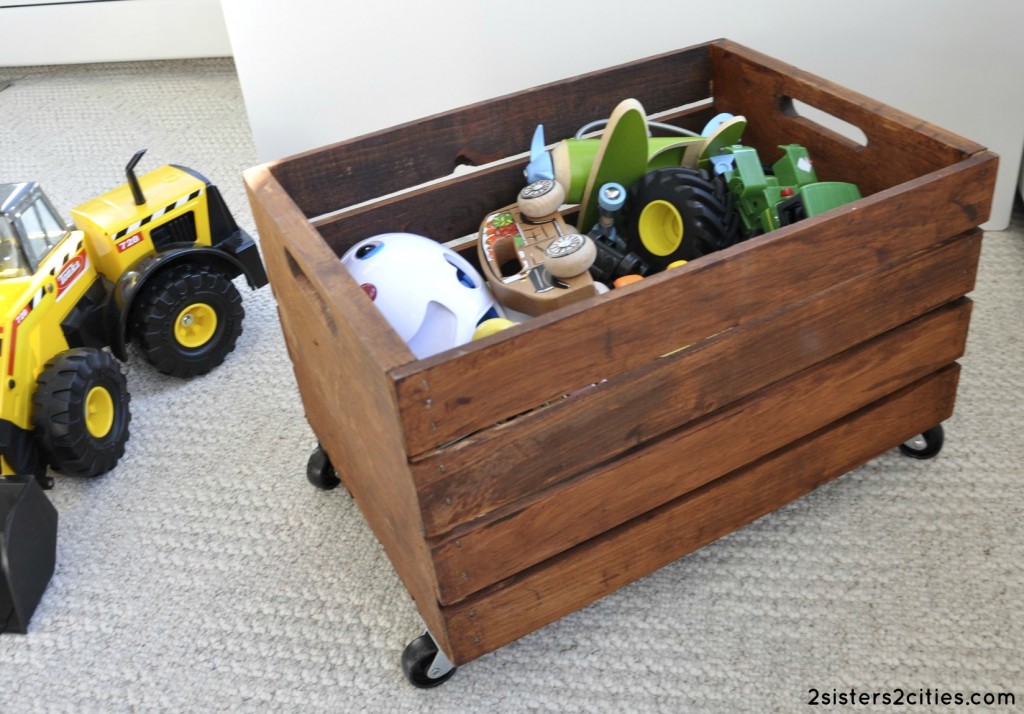
Alternatively, it also makes great toy storage bin as well. Here is the cart filled with trucks, cars, trains, and plains:
Here are the materials I used on this project:
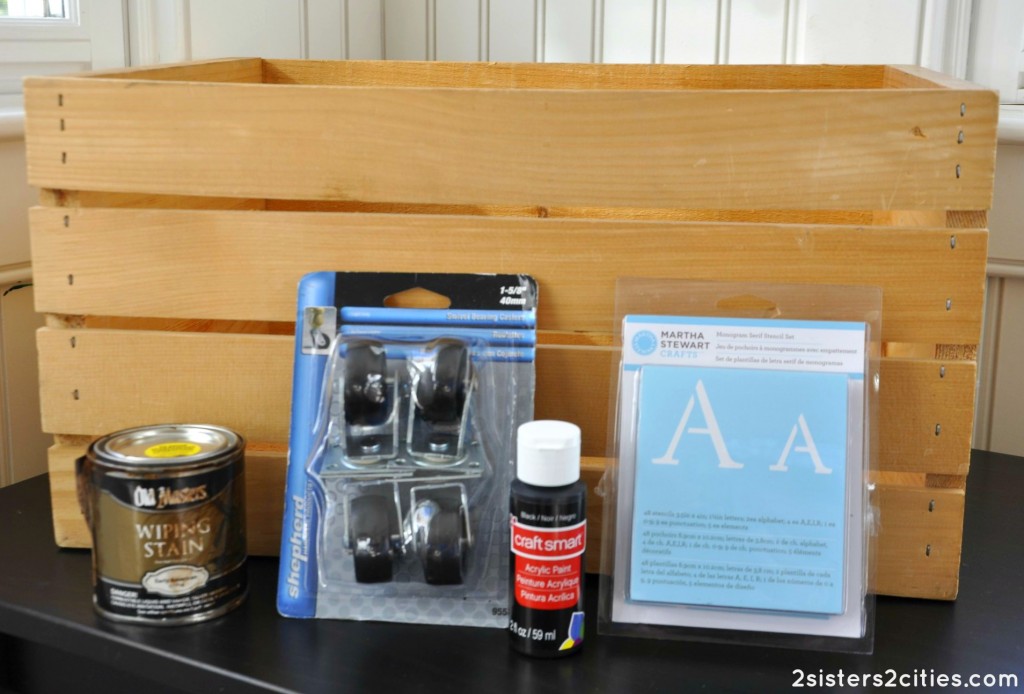
- Unfinished wooden crate– approximately $9.99 (be sure to use a coupon if you buy it at Michaels)
- 1/2 pint Old Masters Wiping stain (I used Early American 11716)
- Four 1″ ball-bearing swivel casters
- Letter stencils
- Stencil paint
- Stencil brush
- Cloth or rag to apply wood stain
- 8 small screws
- Drill
- Screwdriver
I started off by applying the stencil to the crate. I chose to write “Books,” but you can be more creative with your wording if you like (the Serena & Lily crates say Soft Drinks, Lemonade, Super Seven or White Star.) I was going for a retro font from the Mad Men era, but I think the font ended up feeling a bit more old west saloon. I still like how it turned out, but it wasn’t what I originally had in mind.
Once the stencil was dried, I applied a wood stain. I used a cloth to apply it. Since I wanted the rolling storage crate to have a distressed feel to it, I pretty much slapped the stain on and didn’t worry about making the coverage exactly even.
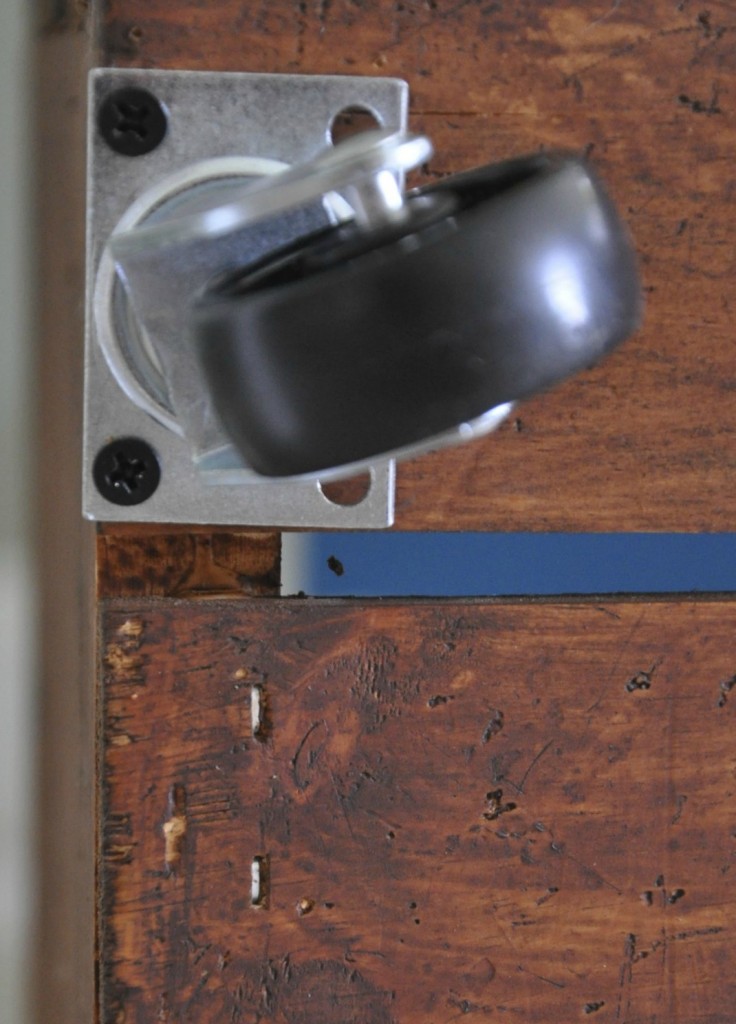
The wood stain took about 24 hours to dry. I recommend putting it outside if it’s nice out or in a room you are not using- the fumes were a bit strong while it dried. Once dry, I used a screwdriver to screw the ball-bearing swivel casters on. Each caster had room for 4 screws, but I only used the two outer wholes (photo below.) If I used all four screws on each caster, the screws on the inside of the crate would poke through the bottom of the crate. Since the casters are not being used to support a person’s body weight, I think two screws on each caster would be sufficient. You could use a drill to put eight starter holes (two per each caster) in the crate, but I ended up putting the screws in with just a screwdriver.
I love how this DIY project turned out! Have you ever been inspired by something you saw in a catalog and decided to make it yourself?
This post was shared at:


